
Root Guardian and Storm Conductor
What it is
Two dungeon bosses. Each one waits on an altar in the top vault of its structure.
- The Root Guardian lives in the Rootbound Maze, found in swamps and mangrove swamps.
- The Storm Conductor lives in the Storm Spire, found on jagged, frozen and stony peaks.
Both fights have three phases and a boss bar. Older saved structures keep the layout they were built with.
How to get it
Both structures follow the same path. First come two guarded hall chests. Next is a rune-seal door: Life/Earth in the Maze, Storm/Wind in the Spire. Behind the door is the vault, with two chests and the altar.
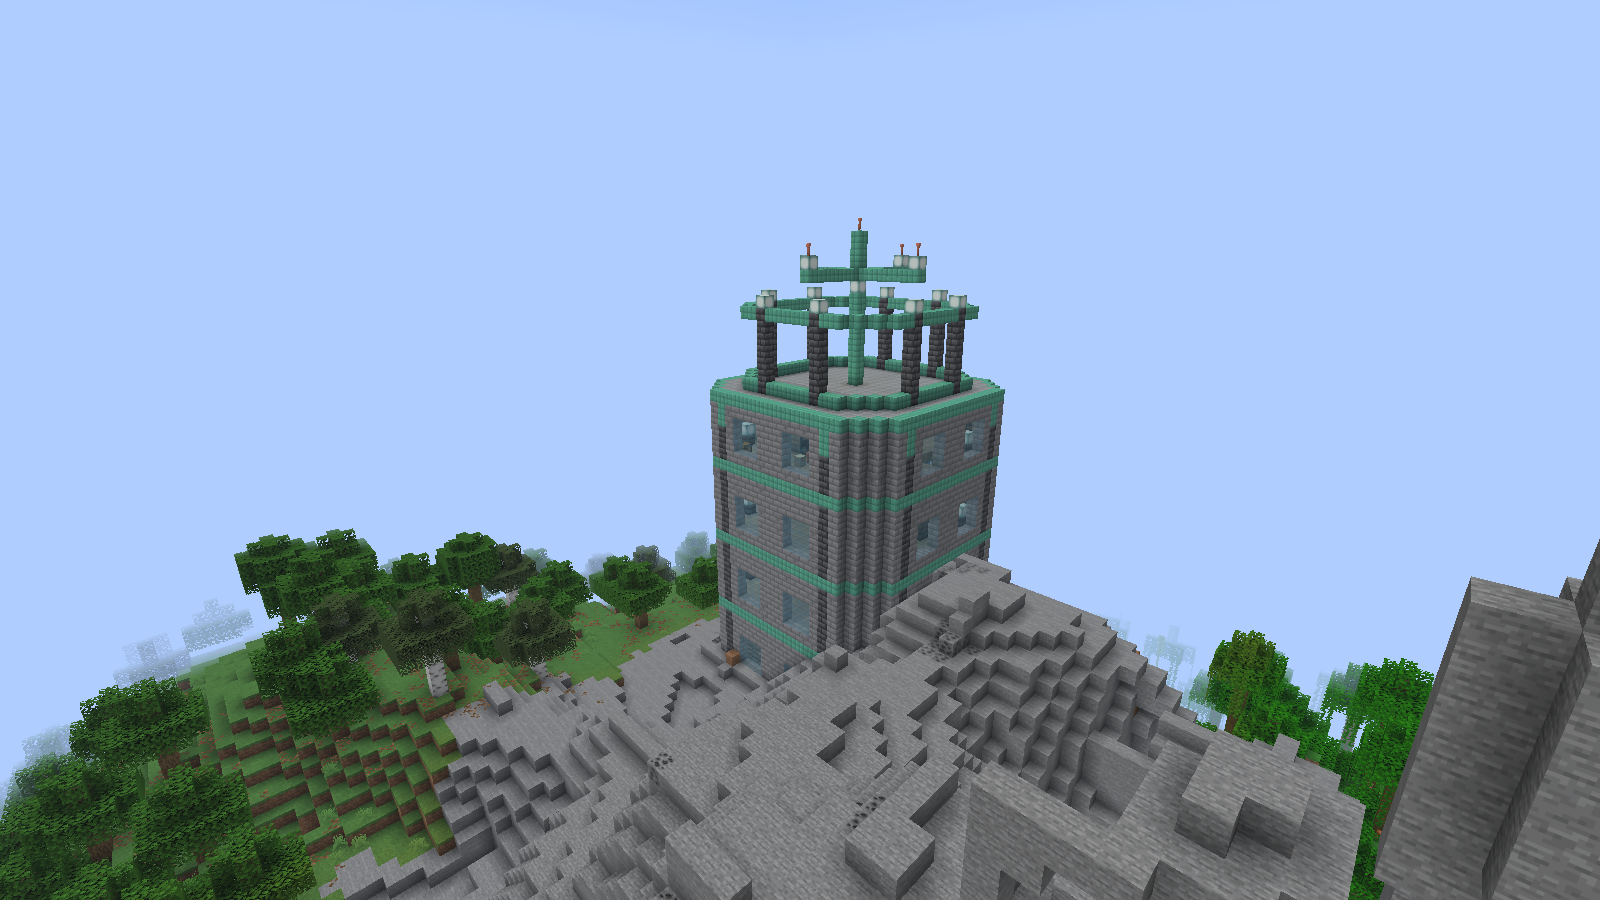
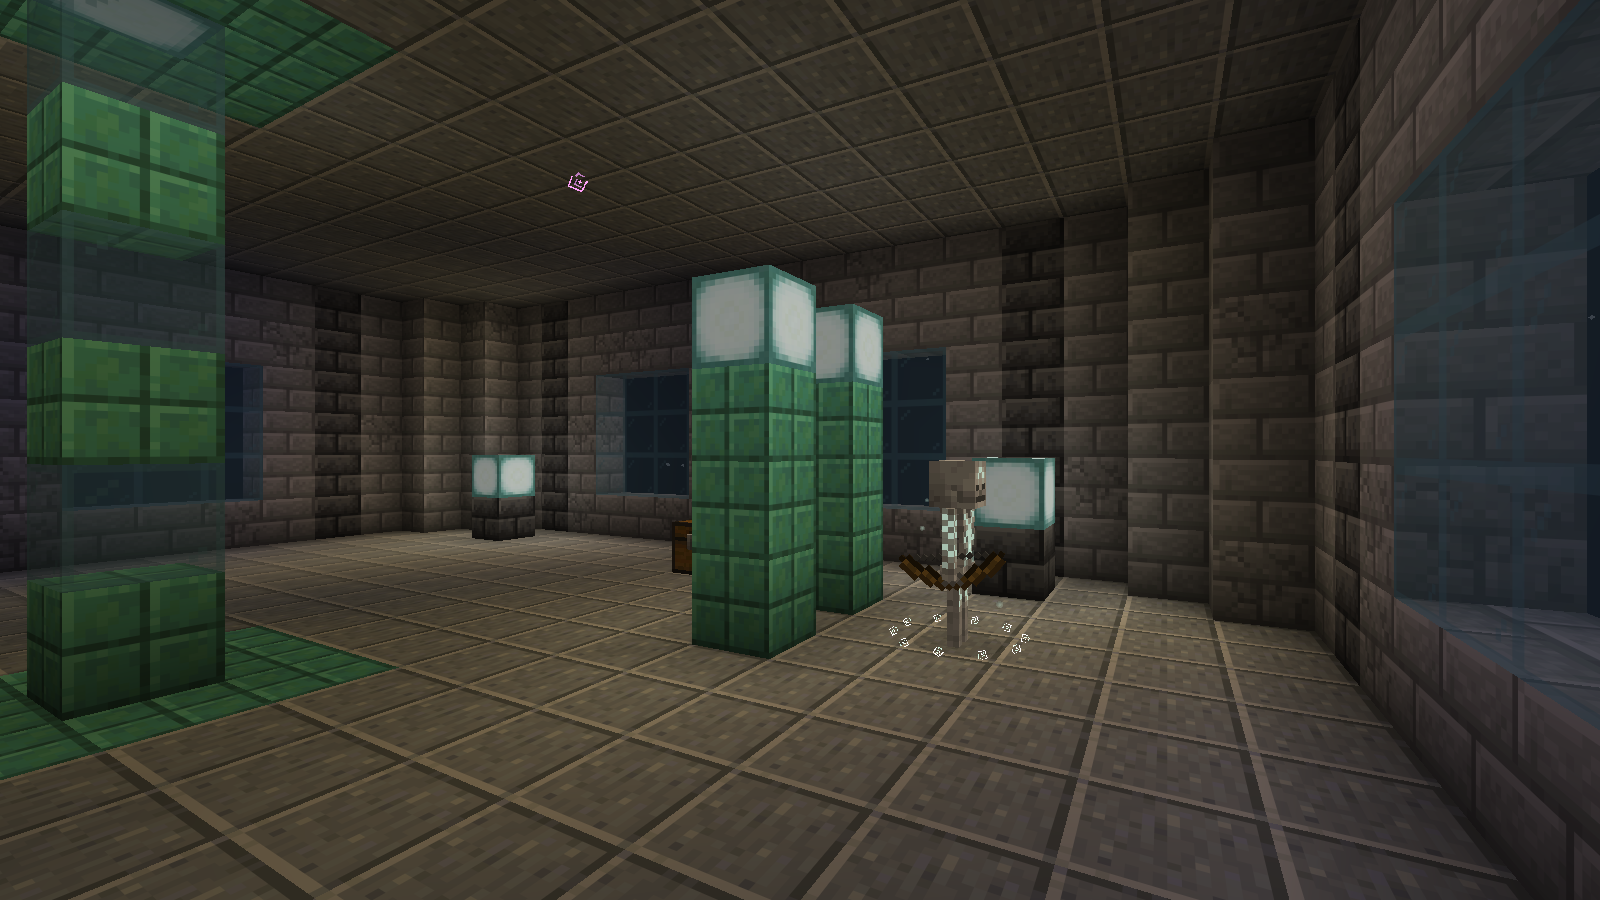
The Storm Spire is an octagonal copper observatory with a switchback staircase, so you can climb it on foot. It has three floors:
- an archive at ground level
- induction coils in the middle
- a wind-instrument gallery at the top
A glass-insulated conductor runs up the middle to a copper crown. The crown is only decoration.
How to use it
Root Guardian
It has 220 health and starts with three glowing bindings. While it is bound, it takes only 35% damage.
- Right-click it with shears to prune a binding.
- Fire damage also prunes a binding. So does a spell that hits it while it is burning.
- Some of its own moves can cost it a binding too: a creeping root that reaches you while you’re burning, a sap pool it stands in when you set the pool alight, and a pollen cloud you light.
- Prune all three and it reels back with its heart bare for 6 seconds. That also breaks off whatever it was doing.
- The bindings come back at each new phase.
How it fights. It never makes the same move twice running. The boss bar names every move and what to do about it.
| Move | From | Its tell | Counter |
|---|---|---|---|
| Spears | Phase 1 | Sinks its arms into the floor while rings creep after each player, then settle | Step off your ring once it settles. A second wave in phase 3 |
| Lash | Phase 1 | Draws a binding back over one shoulder over a marked cone | Get beside or behind it, or out of reach. If it hits no one, the lash snags in the floor. In phase 3 it lashes back with the other arm |
| Seeds | Phase 1 | Arms up, its crown swelling, as rings mark where the pods will land | Keep off the rings. The pods burst into briars; burn them away |
| Sap | Phase 1 | Arches back as its heart weeps sap down a marked lane | Step out of the lane. The pool holds you fast, so don’t walk into it. Set it alight while it stands in it to cut a binding |
| Creep | Phase 1 | Stamps a leg, then a root tunnels after you for up to 2.5 seconds | Jump it or sidestep. If you’re burning when it reaches you, the fire runs back up the root and cuts a binding. It’s never used up close |
| Thorns | Phase 2 | Hunches over, bristling, as six spokes are marked on the floor around it | Stand between the spokes. In phase 3 a second burst fills the gaps |
| Uproot | Phase 2 | Tears its legs free of the floor and charges down a marked lane | Step out of the lane, or lure it into a wall. Charges twice in phase 3 |
| Pollen | Phase 2 | Shakes its crown and a ring flashes, then a cloud spreads that saps your strength | Get out of the cloud, then light it to flash it and cut a binding. Lasts longer in phase 3 |
| Canopy | Phase 3 | Raises its arms high while shadows follow each player, then lock, and boughs come crashing down | Step out of every shadow. It takes a while to recover afterwards |
Its openings. Each one is named on the boss bar with “strike now!”
- Snagged (2 seconds), after a lash that hits no one. It can’t turn, so circle to its flank.
- Tangled (just over 2 seconds, 3.5 if it charged into a wall), after every Uproot. Blows go through its bindings at 70% instead of 35%.
- Staggered (about 1.5 seconds), after a creeping root that finds no one.
- Reeling, when you cut its last binding, with its heart bare.
Its spells (roots, mire, venom, tremors and aftershocks) come between its moves, more often when you keep your distance.
What each phase changes.
- Phase 2 adds Thorns, Uproot and Pollen, and it rests a little less between moves.
- Phase 3 adds the Canopy and rests less again. About half the time a move runs straight into another with a shorter tell, and Spears, the Lash, Thorns and Uproot all come twice.
- Between phases its bindings grow back and it clears away its pods, briars, pools and pollen. It throws its arms up in spirals of leaves, rears on one leg as a ring gathers, then stamps, hurting and throwing back everyone within 5 blocks.
Storm Conductor
It has 240 health. It never leaves its podium: it conducts the storm with a baton, and the storm answers on the beat. While charged it takes half damage.
- One of three lightning rods in the arena sparks. Stand within 2 blocks of that rod to ground the boss.
- Grounding breaks off whatever it was doing and gives you 5 seconds of full damage. Then a different rod sparks.
- You can ground it again 8 seconds after the last time.
- Every standing rod is shelter. A bolt meant for anyone within 2 blocks of a rod goes down into the rod instead.
How it fights. It never makes the same move twice running, and nothing it does hurts you during a tell. The boss bar names every move and what to do about it. Its coils glow brighter as it winds up.
| Move | From | Its tell | Counter |
|---|---|---|---|
| Downbeat | Phase 1 | Raises its baton high while a mark follows each player, then the mark holds still for a moment | Step off your mark, or stand by a rod and let it take the bolt. Two beats in phase 3 |
| Crescendo | Phase 1 | Circles its baton faster and faster overhead, then sweeps it down | Jump the ring that rolls out over the floor. Two rings in phase 3 |
| Staccato | Phase 1 | Flicks its baton down a marked line toward you. The aim locks just before | Step off the line before the sparks pop along it. Three lines fanned out in phase 3 |
| Fermata | Phase 1 | Holds its baton straight up under a toll, with a mark under each player, then listens for a second and a half | Hold still. Anyone who moves while the note is held is struck. Afterwards it’s winded for 2 seconds |
| Gale | Phase 1 | Sweeps its baton back to one side, twisting, as air is drawn in over a marked cone | Crouch to keep your feet (you’re shoved about a third as far), or get beside or behind it. Wider in phase 3 |
| Discharge | Phase 1 | Only when you’re within 4 blocks. Points its baton at its feet as its cage spins up inside a crackling ring | Get out of the ring (3.5 blocks, 4 in phase 3). Afterwards it’s spent for nearly 2 seconds |
| Ball Lightning | Phase 2 | An orb swells at the baton’s tip, then drifts after you and bursts at a touch or where it stops under a ring | Outpace it and step out of its ring. Or lead it into the sparking rod: the rod swallows it and grounds the Conductor. Quicker in phase 3 |
| Chord | Phase 2 | Points at one quiet rod, then the other, and lines of lightning are drawn between them and back to its podium | Keep off the lines. Needs two quiet rods still standing. A second pulse in phase 3 |
| Rolling Thunder | Phase 2 | Draws its baton back while the walls rumble | Rings close in from 12 blocks out, one after another. Jump each as it reaches you. Four rings in phase 3 |
| Counterpoint | Phase 3 | Beats side to side while half the floor around it is marked in squares | Stand on an unmarked square. Half a second later the other half is marked, so step across |
It’s open to full damage while winded or spent, as well as while grounded. Its spells (shock and arcs, then rain and prisms, then bolts and lances) come between its moves, more often when you keep your distance.
What each phase changes.
- Phase 2 adds Ball Lightning, the Chord and Rolling Thunder, and it rests a quarter less between moves.
- Phase 3 adds Counterpoint. It rests half as long, comes back to each move sooner, and makes its moves in pairs: a Fermata runs into a Downbeat (you still get the winded opening after), a Gale into a Staccato, a Crescendo into Rolling Thunder, a Chord into Ball Lightning, and so on.
- Between phases it raises its baton straight up and trembles while storm clouds gather and lightning falls onto the tip, until it all comes down at once.
Rewards
- Loot: a Rootbound Relic or a Stormglass Relic, 3 Mana Crystals, a Torn Page and a themed rune.
- Rootbound Relic: heals and roots nearby monsters, then recharges in 30 seconds.
- Stormglass Relic: blasts monsters away and gives you speed and slow falling, then recharges in 30 seconds.
- Every fighter nearby gets a Tier IV rune, picking one they don’t know yet when it can, plus experience.
- Feat: Heartwood for the Root Guardian, Grounded for the Storm Conductor. The 16th Heart Circle asks for Heartwood and the 18th asks for Grounded.
Lessons these feats unlock
- Heartwood unlocks the lesson The Root That Outlived Its Gardener. Collect it from the Grimoire’s Master studies, then study it with Circle XVI active to learn Excise.
- Grounded unlocks Notes on a Grounded Storm. Collect it the same way, then study it with Circle XVIII active to learn Conduit. See lesson pack.
Tips and counterplay
- Bring shears or a fire source to the Maze. Use your burst window while the heart is open.
- Bring fire for its own moves too: light its sap pools and pollen clouds, burn its briars, and meet its creeping root while you’re burning.
- Lure its Uproot into a wall to leave it tangled for longer.
- Dodge its lash and circle to its flank while it’s snagged.
- In the Spire, watch for the sparking rod. Get to it and the Conductor drops whatever it was doing.
- Fight near a rod. It takes the Conductor’s bolts for you.
- Read the baton: raised means a mark to step off, circling means a ring to jump, straight up under a toll means freeze.
- Strike when it’s winded after a Fermata or spent after a Discharge.
- Lead Ball Lightning into the sparking rod to ground the Conductor without walking there yourself.